|
Steps for completing this week's challenge:
Techniques to work on this project: Harmony (Color, Pattern, Shape & Texture)Steps for completing this week's challenge:
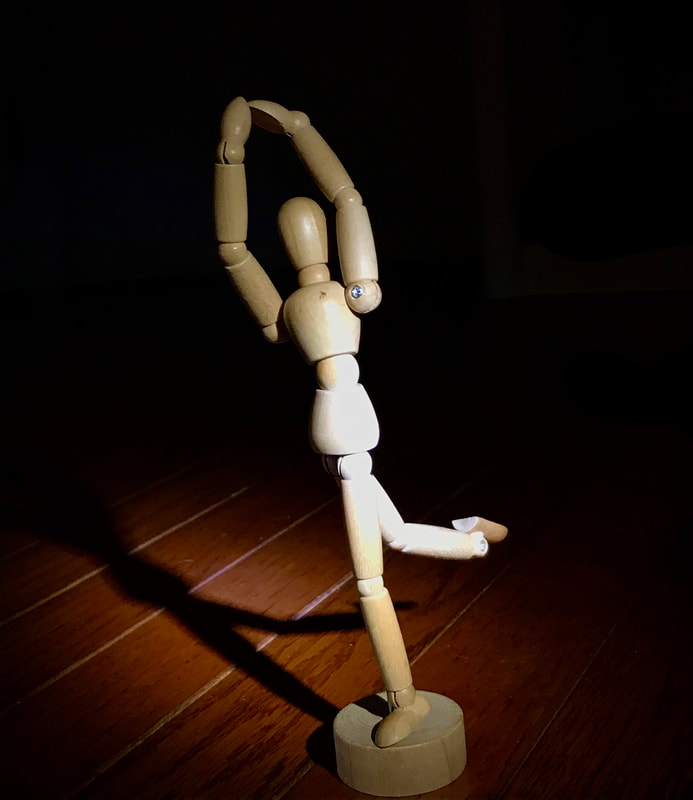
Techniques to work on this project: Framing and Leading Lines
Steps for completing this week's challenge:
Virtual Job Shadow
Any student that DID NOT complete an actual on-site job shadow this year is required by our school to complete a Virtual Job Shadow before the end of May.
Below are the steps you will need to complete:
YOU CAN DOWNLOAD A PDF OF THE STEPS HERE AND EDIT IN GOOGLE DOCS OR WORD. Technique that we're focusing on this week: Balance Steps for completing this week's challenge:
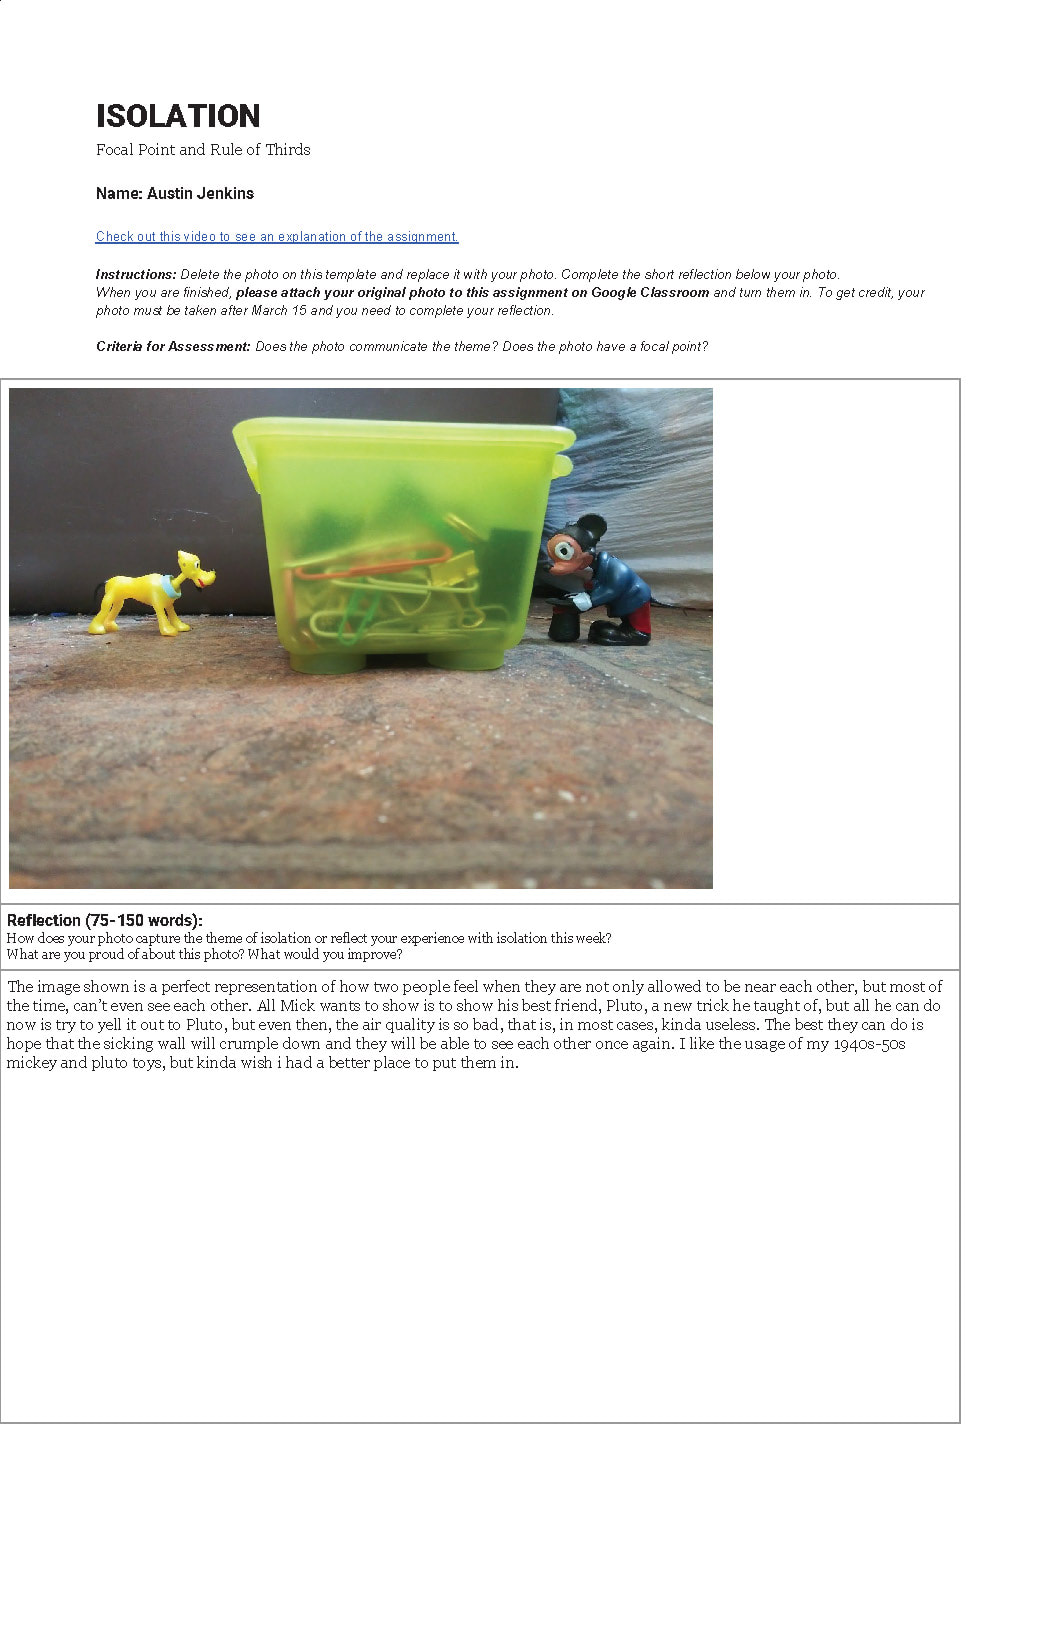
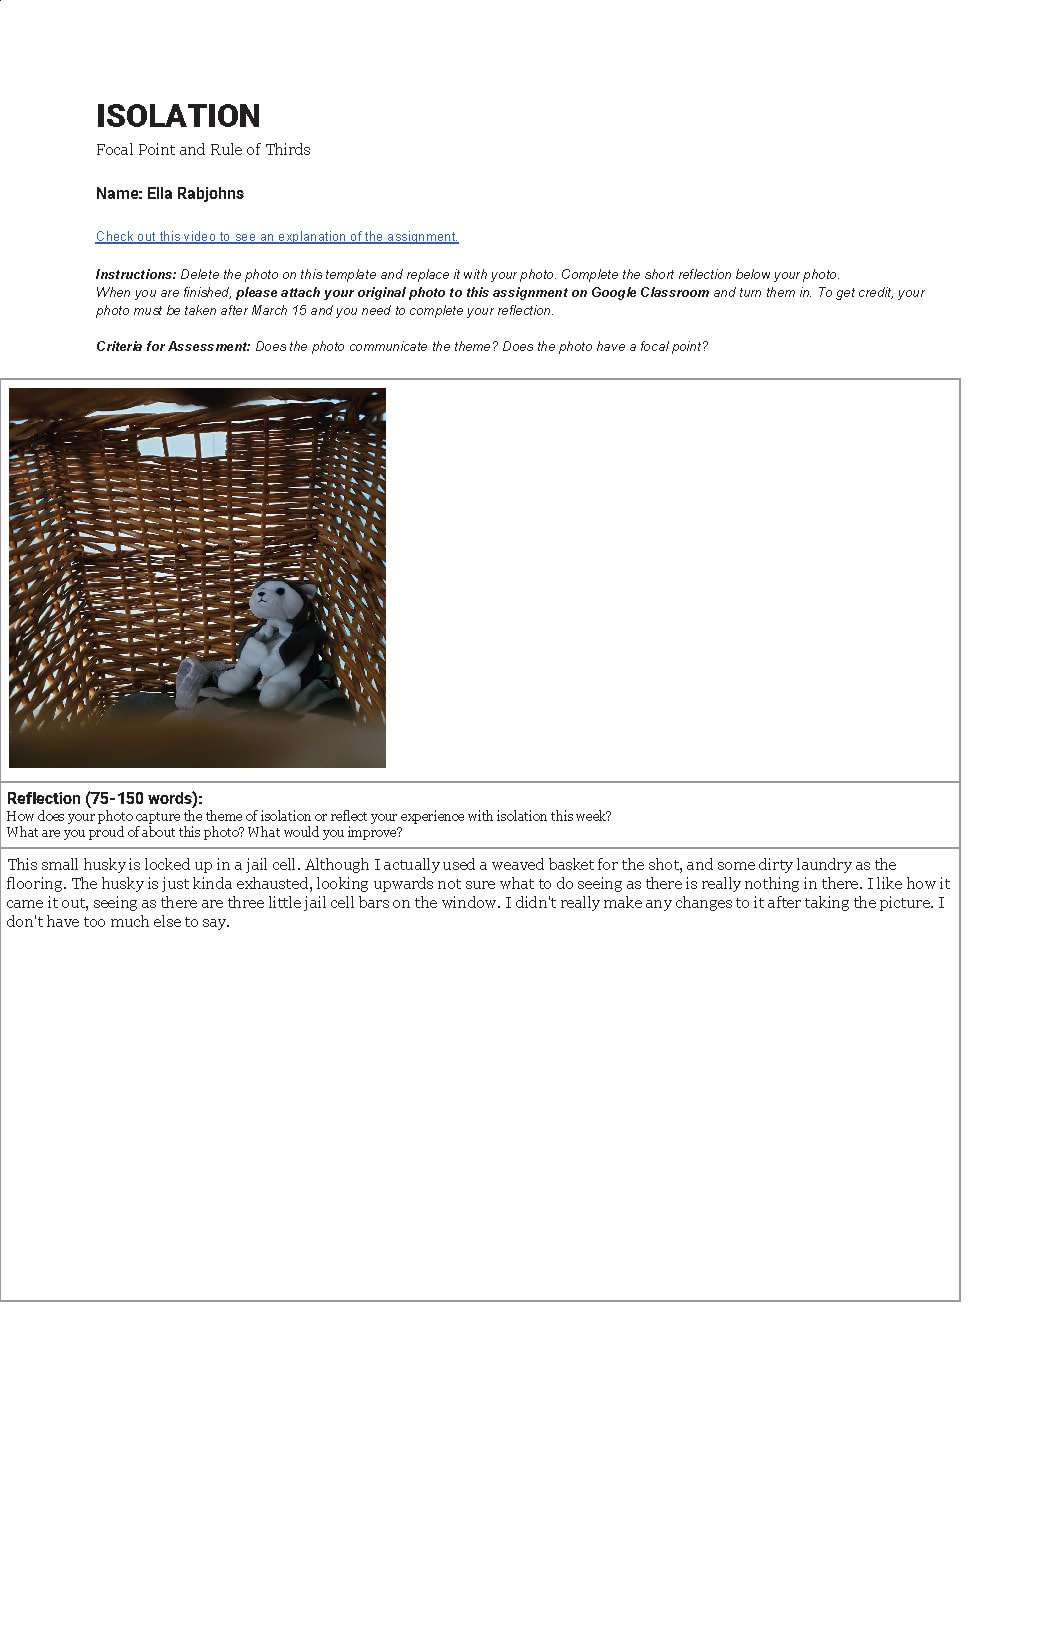
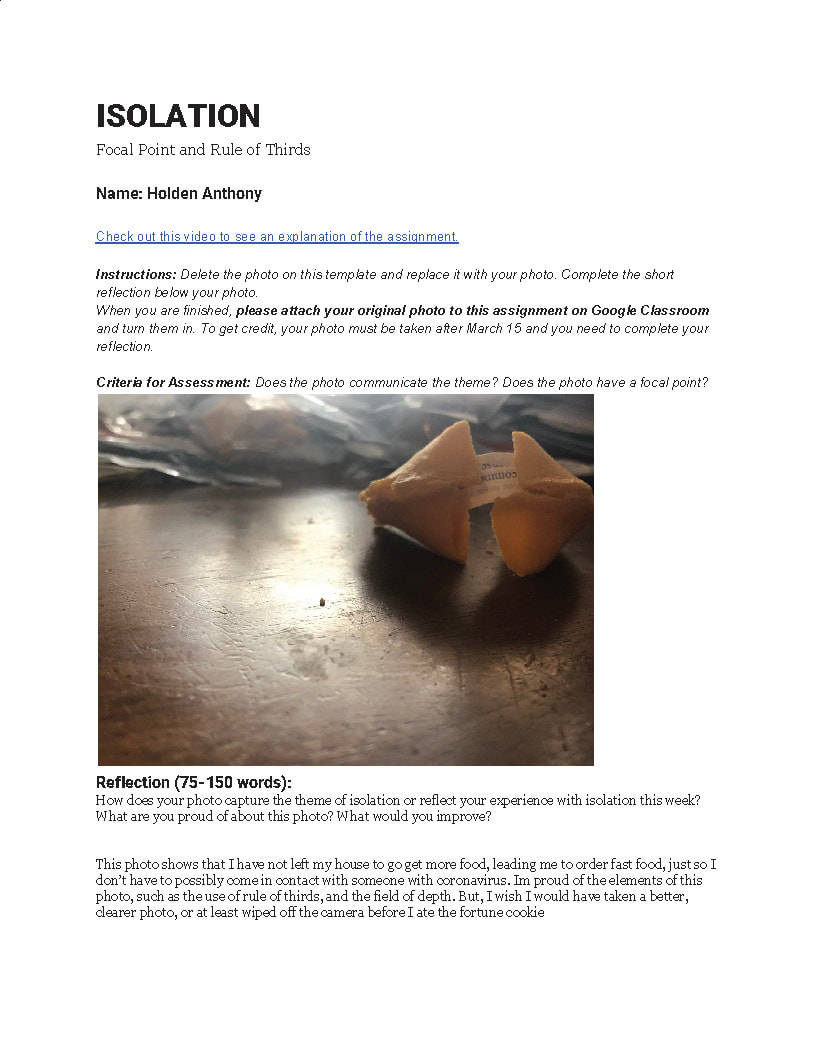
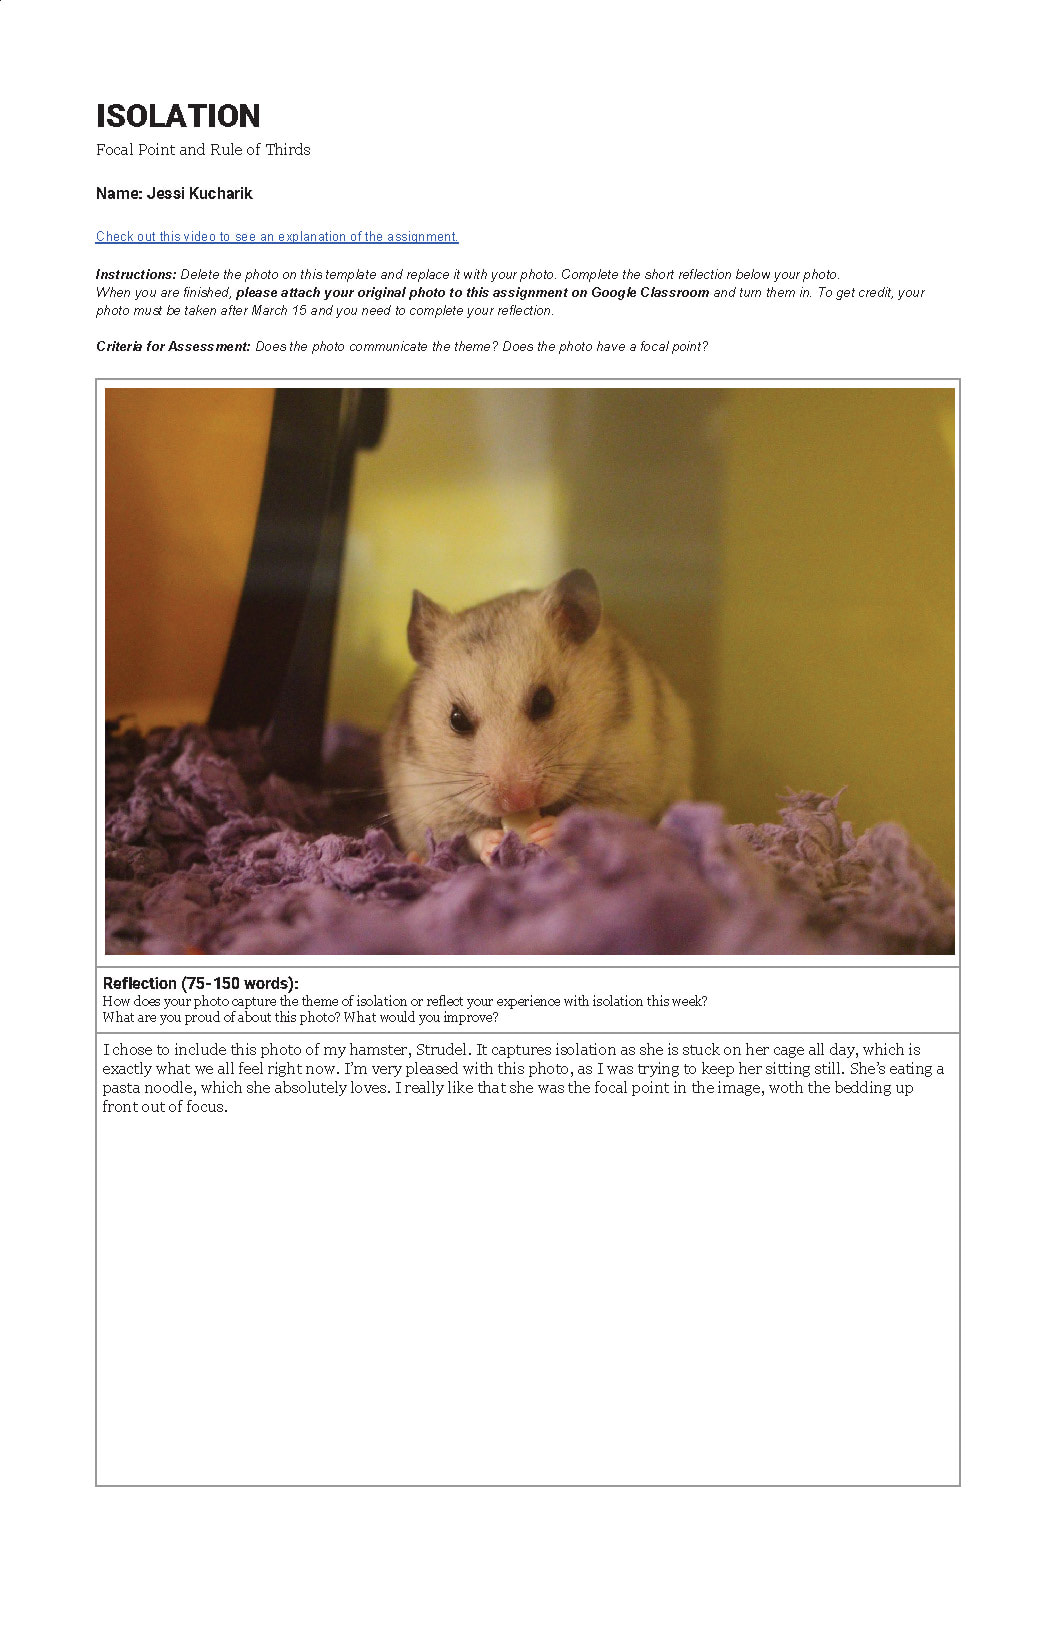
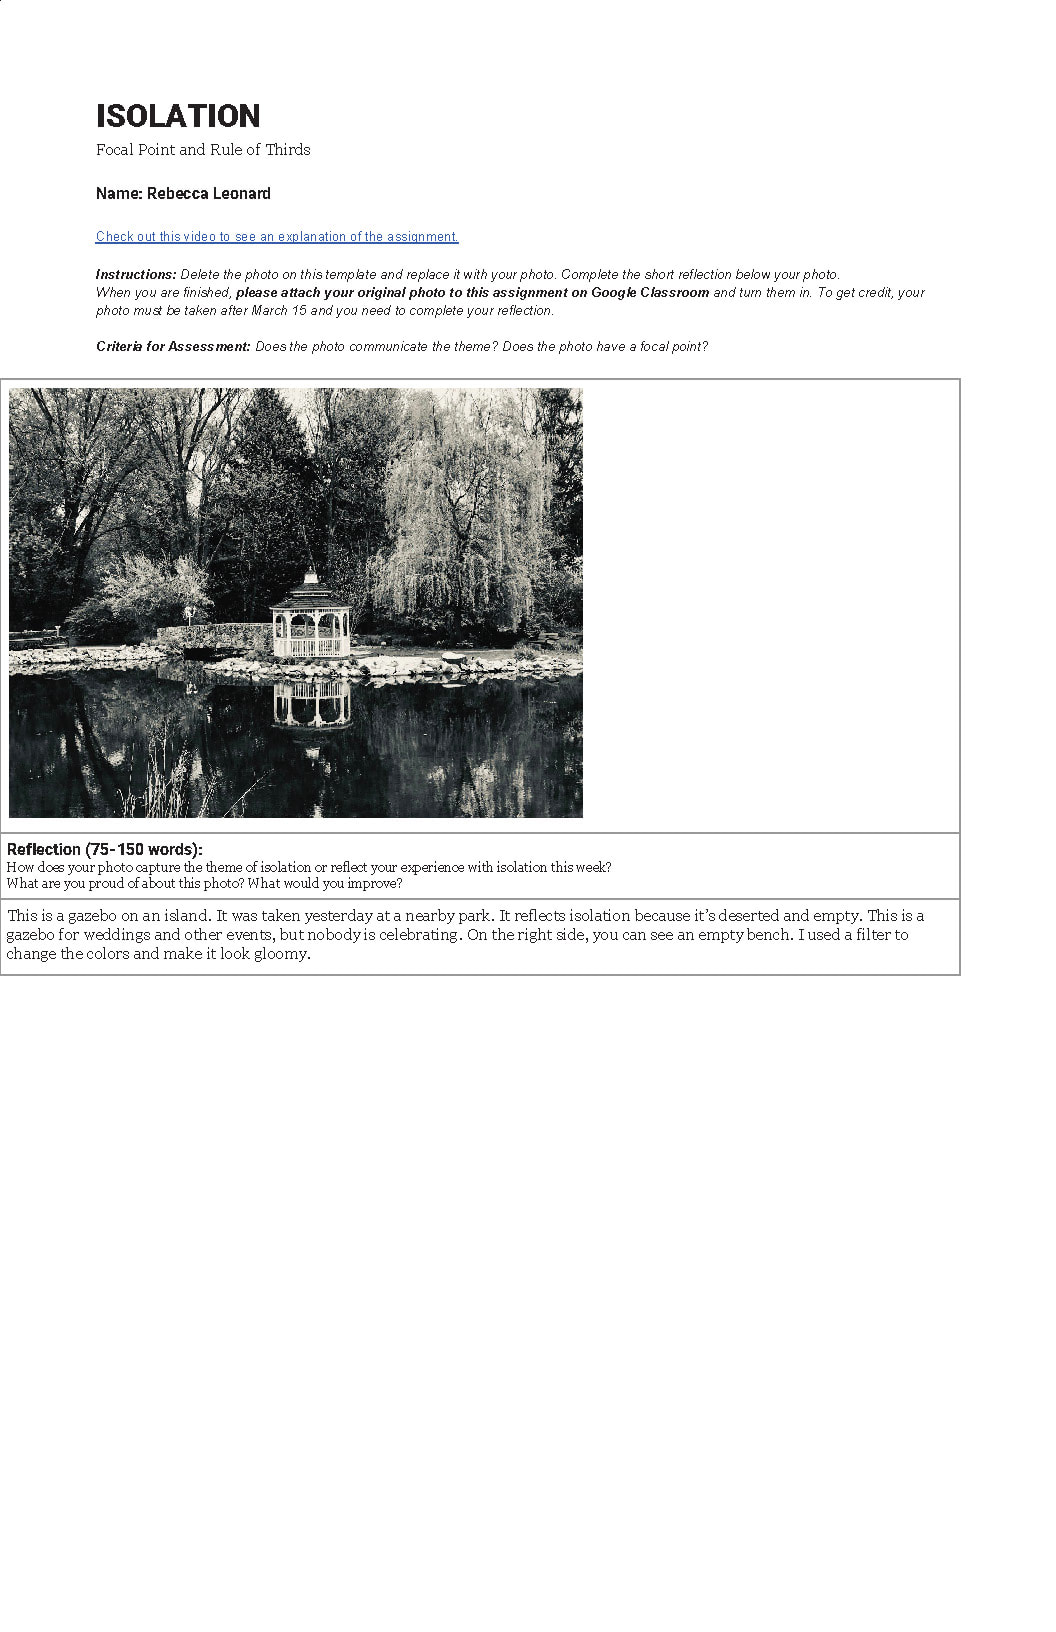
I want to use the next couple of weeks to help improve everyone's photography skills. You can use a cell phone camera for all of these Photography challenges. Techniques that we're focusing on this week: Focal Point & Rule of Thirds Steps for completing this week's challenge:
Additional Resources: taking_better_cell_phone_pics.pdf Here are the directions for using this project choice board:
If you wish to work ahead, that's good with me. Try to stop into at least one Zoom class per week so that I know what you're working on that week. I also have office hours for those of you needing 1:1 help with a given project. The schedule is listed in the post below. This should be different - but it should also be fun. I'm trying to provide you with some choices in what you're working on - I encourage you to challenge yourself. If you wish to work with these digitally I'm okay with that as well. I miss you all and look forward to the day when we gather again for real. Next Tuesday we start the 4th Quarter online. The schedule has been modified so that you’re not overloaded with Zoom sessions every day and that part time students aren’t missing any of their academic work at their sending school. Below is the schedule for our class:
Tuesdays & Thursdays – Meeting Days 8:00 AM to 8: 50 AM..................................... AM CTE Class Zoom Meetings 10 AM to 11:00 AM....................................... Mr. Tucker Office Hours 12:00 NOON to 12:50 PM.............................. PM CTE Class Zoom Meetings 2:00 PM to 3:00 PM....................................... Mr. Tucker Office Hours Mondays & Wednesdays–Office Hour Days 10 AM to 11:00 AM....................................... Mr. Tucker Office Hours 2:00 PM to 3:00 PM....................................... Mr. Tucker Office Hours Fridays – Office Hour Day 10 AM to 11:00 AM....................................... Mr. Tucker Office Hours 2:00 PM to 3:00 PM....................................... Mr. Tucker Office Hours 7:00 PM......................................................... Project Work Due at this Time Office hours and Zoom Meetings are for any Commercial Art student and can be attended either in the morning or the afternoon – whatever works best for you. If you need to meet at some other time, please just let me know and we’ll make it work. What is required from me as a student? – If you understand the projects posted on the class website, finish the project by Saturday noon of that week and submit it via an Adobe Spark page (if you can't get Spark to work send it via email to [email protected]). You can work independently at your own pace if you wish. That is somewhat normal in an online class. If you have questions about the project, wish to have a broader explanation or wish to see demonstrations relating to the project, attend one of the two Zoom sessions on either Tuesdays or Thursdays. They are voluntary, but may help you achieve greater understanding. I have limited technology – what can I do? Your best. Pencil and paper may be your best solution. Almost all of you have a cell phone capable of taking pictures – use it to document your work – take a photo of your project and submit that photo. I will try to give you project work that can be done either digitally or analog. What’s the worst thing I can do? Not Communicate. Online classes are all about communication. That means you do the following:
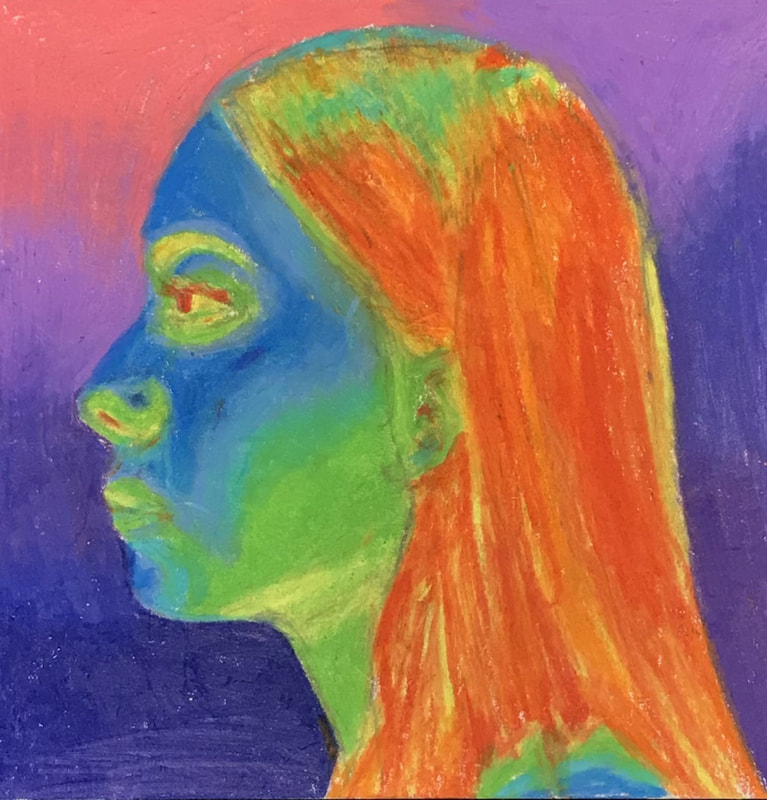
Alphabet 100In this exercise you are asked to explore thumbnailing and working on how adept you are at creating a simple design solution. You will need to print out the pdf file at the bottom of this description. Follow the directions on the sheet. Photograph/scan your finished sheet, upload to Google Drive and share with me via my students.cciu.org account. Consider the Elements and Principles of Design before you start doing your pencil sketches. SAMPLE Solution 
Creative Suite Alternatives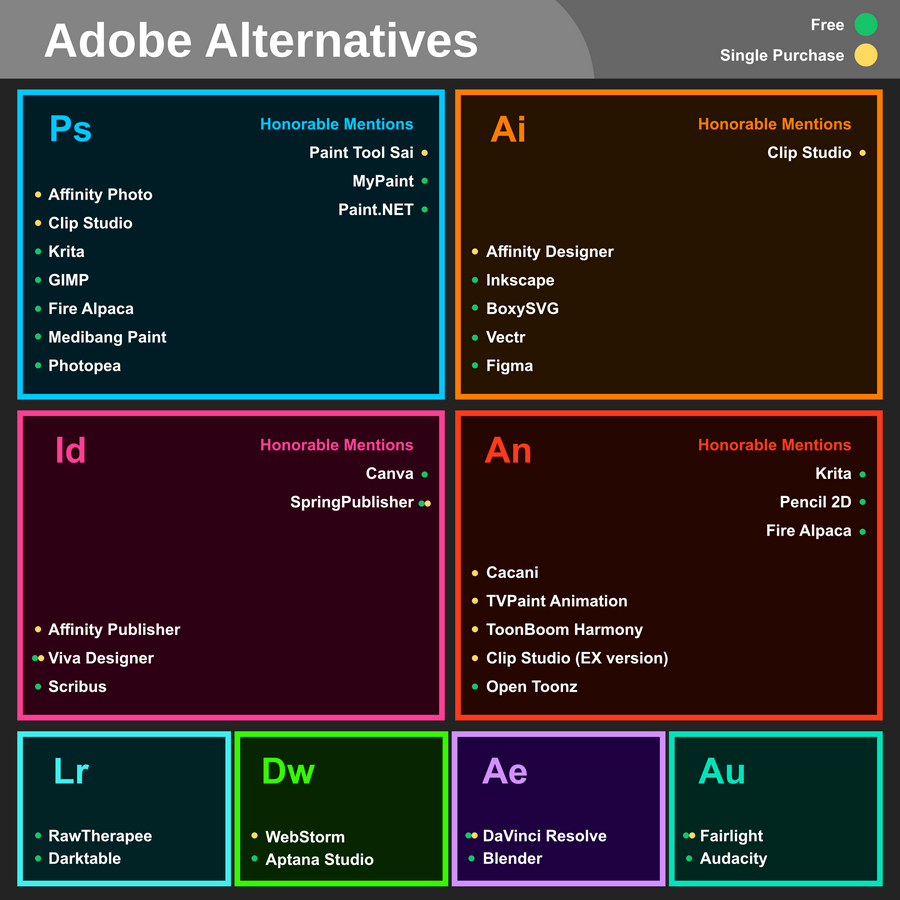 Choose which app you're going to be reviewing.
You are going to be posting your answers to a group Padlet to the following questions:
Link to the AM Group Padlet to Post Answers Link to the PM Group Padlet to Post Answers Art as an Escape - Cirque du SoleilFor years I've wanted to bring one of my classes to see this amazing ensemble of performance artists. Their shows are a visual playground and the combination of athleticism, dance, music, makeup and setting incorporate all of the arts - both visual and performance. They have made this video available due to the happenings surrounding the COVID-19 events. I want you to watch as much of the video below as you want and find a moment to trace or sketch that you feel demonstrates their visual style and shows movement. Freeze the frame and draw in pencil. Take a picture of your drawing with a cell phone camera and email them to me at my students.cciu.org email address. Student Finished Products Submitted |
 Mr. TuckerMr. Tucker is in his 23rd year as the instructor for the Graphic Arts program. Prior to his teaching career he worked in the flexography industry for ten years and in quick printing for ten years. NEED HELP?Weebly Student Log-in Link
PHYS. ED. DAY
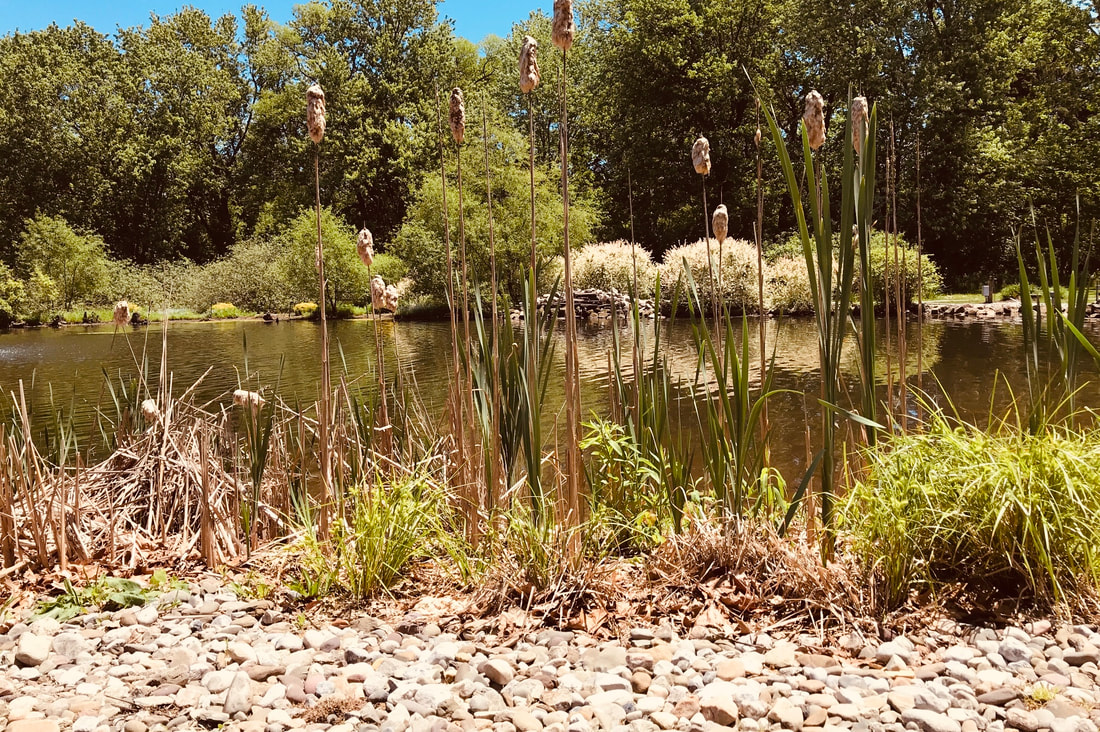
AM - Thursdays - 1 PM - Thursdays - 7 HEALTH DAY PM - Mondays - 7 Lake Photo
|
||||


 RSS Feed