|
Competencies this week:
Projects this week:
Files for this week:
Welcome to the third quarter. Over the next seven weeks we're charged with creating this year's 2017 Shield. The book this year is a challenge because of the construction zone that our school has become. We will need to be very creative in meeting that challenge and I'm looking forward to hearing and seeing your ideas for this keepsake edition. We will need everyone working on this in some capacity. Taking pictures in the CTE areas, doing interviews with senior students and staff members, laying out pages in InDesign and generally stepping up to fill needs is going to be everyone's job over this quarter. This is a very important year in the history of this school and we need to document the exciting changes happening at our campus. Portrait Retouching Playlist: Competencies this week:
Projects this week:
Files for this week: This week we're going to be working on three different projects. For the photography project we are going to be doing the first project in Harvard's MOOC (Massive Open Online Course) course on Digital Photography. MOOCs are another way for us to grow our skills. You can take a college level course at Harvard, Stanford or a number of other colleges for free. All of the resources for these courses are open to the public. This link will show you how large a selection of these courses exist. The course we'll be looking at in the coming weeks is called Exposing Digital Photography. 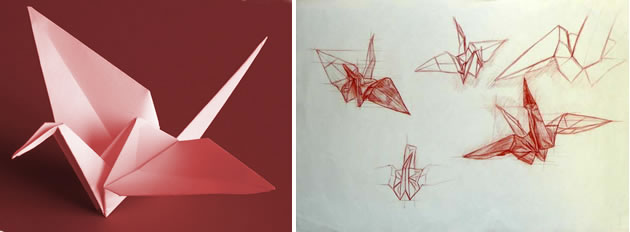 Competencies this week:
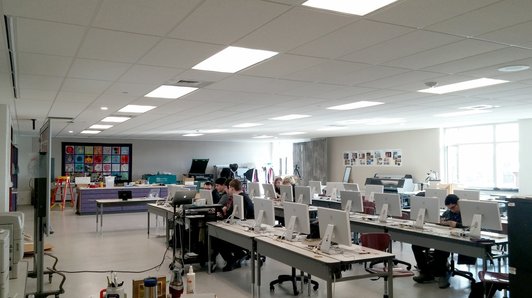 Welcome to your new lab and 2017! Thanks to all of you that have worked so hard on helping with the move to our new workspace. We still have some work to do to get everything organized, but it was wonderful to get a few workdays in last week and get back to our work. This is our space and we all need to take great care to keep it clean and looking like new. Construction continues in other parts of our campus, so please use good judgement when moving around the building. Go with the flow!
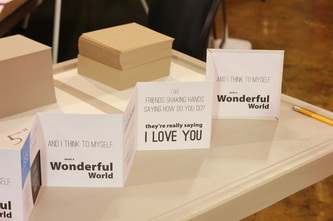
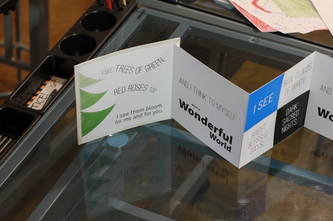
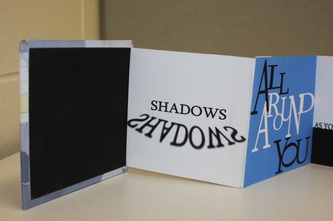
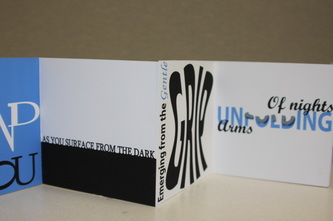
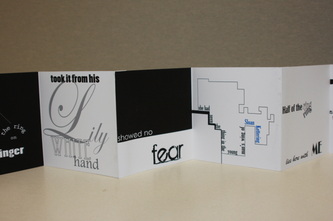
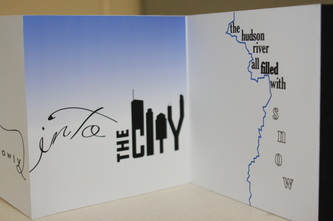
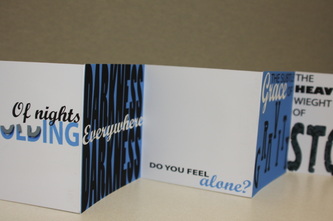
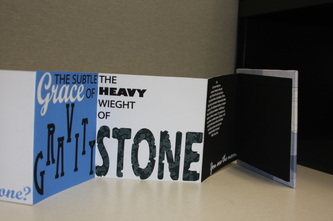
This week we'll be completing vinyl t-shirt prints that we began last week. We'll be taking mid-term exams Wednesday through Friday of this week. Please log on to your Google account to check for an email to access your mid-term. Log-in and passwords have been mailed to you. The mid-term is an open book test. Please take your time when taking this test. Our analog project this week is create a positive/negative space work in a media you have never used. Suggested medias include India Ink, Copic Markers, Tissue Cutting in color paper. We will do a workshop on using these medias on Monday and Tuesday of this week. You can see samples of possible design ideas by looking at the Analog Pinterest channel to the right. We need to begin taking portraits of the many new faces at our school. I'd like to distribute portraits to those students that want to work on the editing teams in both the AM and PM classes. We will be meeting in small groups throughout the week to get us back on schedule to produce this year's yearbook. Competencies this week:
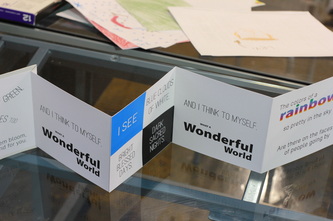
This week we'll be continuing our work in Adobe InDesign. We'll be creating a calendar. You have a choice about which style of calendar you're going to create. You can do both if you're so inclined. One format will utilize tabloid size (11 x 17) sheets folded in half to form a booklet. The other style is a desk calendar that utilizes a CD case type holder for display. You will need anywhere between 12 to 16 photos for your calendar. You can use your own artwork (suggested) or other images if you prefer. I would recommend creating some sort of theme for your calendar as it will help in creating a coherent feel to the piece. We'll be adding holidays to our calendars and you can personalize it by adding birthdays and other significant dates. If you're a person that believes every day is a holiday, you might want to check out this site. A folding dummy will be provided for you to create finished layouts for your booklet. Below are the setup windows for creating both styles of calendar. Competencies this week:
InDesign is a frames-based page layout program. It is used for bringing artwork, illustrations and type together for a variety of design projects like books, newspapers, magazines, catalogs & advertising marketing pieces. To get used to working with placing, scaling and cropping images and graphics we'll start out with this basic cube project. Download this file and then choose 6 themed images to use in creating your cube. We will work with these files during class. This project could possibly use both Photoshop and Illustrator files as placed graphics. Below are the objectives for this project:
Terry White is an Adobe expert that I follow and here is his InDesign Basics tutorial - it would be wise to watch this video if you're new to Adobe InDesign! This project is really a showcase for how you use Typography. We will be discussing the three videos below in class this week. You will get great ideas for how to control/use type by watching these more than once! Objectives for this Week: 301 - Draw objects using linear perspective. 306 - Produce color illustrations using various media. 505 - Demonstrate basic use of a vector-based drawing program (e.g. Illustrator). 506 - Demonstrate intermediate use of a vector-based drawing program (e.g. Illustrator). For those of you that didn't finish their clay project work by last Friday, please complete these by the end of class on Tuesday. We are going to be focusing on perspective drawing this week - both manually and digitally. This link has a coordinating tutorial for the video below: Objectives: 203 - Demonstrate safe practices when using and maintaining hand tools. 205 - Demonstrate safe cutting procedures. 402 - Apply appropriate color schemes to generate design solutions. 801 - Operate digital camera and accessories. 803 - Demonstrate use of lighting. 804 - Demonstrate ability to physically stabilize camera. This week we begin taking Senior Graduation portraits in our lab. While this is occurring we will be creating three dimensional art in clay. This is our first attempt at working in this media and the most important advice I can give you is to work patiently and do not rush through the experience. Below you will find several videos to help you build your clay work. Once your piece is finished, you will be photographing the work using studio lighting and a product display table. Please post three finished, retouched images to your journal at the conclusion of the project. Orientation: Career Paths, Occupational Requirements, Organizational Skills & Copyright Color Theory & Application:
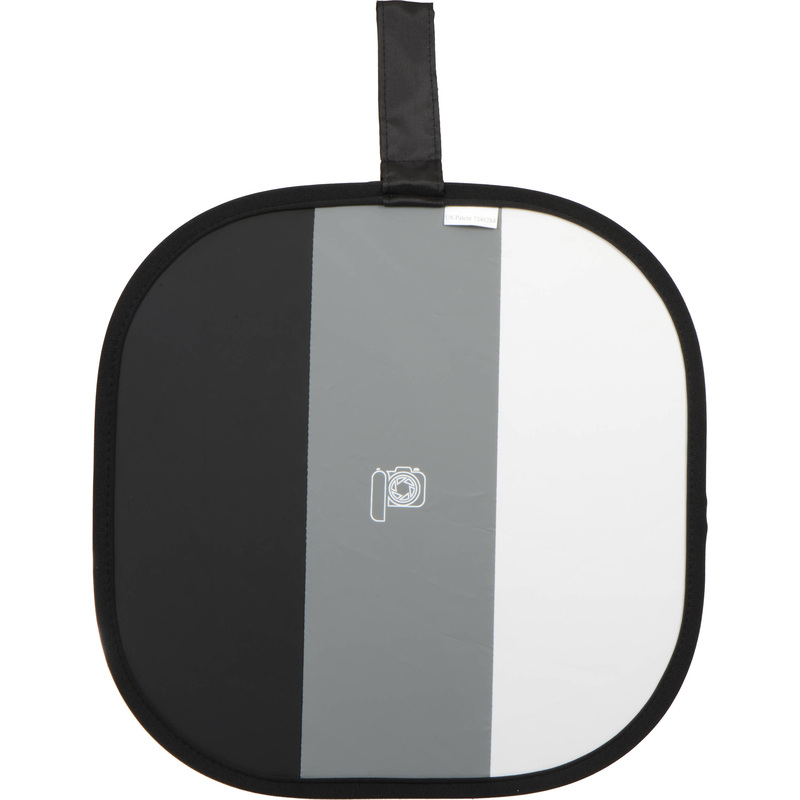
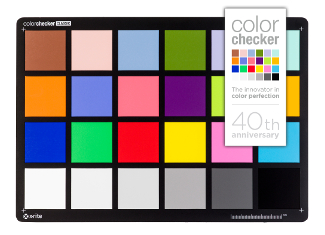
Digital Photography: Objectives: 507 - Demonstrate basic use of image editing software (e.g. Photoshop). 509 - Demonstrate use of input, output and storage devices. 510 - Demonstrate the use of the Macintosh operating system. 801 - Operate digital camera and accessories. 803 - Demonstrate use of lighting. This week we will be working on getting all of our monitors and printers calibrated and color corrected using our X-Rite Colormunki Photo. This device helps designers, photographers and printing professionals get accurate color on monitors and in finished printed work. One of the reasons I wanted to wait to do portrait touch ups was this calibration step needed to be accomplished in order for all of us to be doing color correction that will work consistently. We will also be working with color targets when using a camera. We have two different types of color targets that help improve the quality of the photos we take. This website explains how and why we use these time saving devices. For those of you that have not shot with our Canon DSLR cameras you might need to work on some basic skills about how to make adjustments on the camera while using the manual mode. |
 Mr. TuckerMr. Tucker is in his 23rd year as the instructor for the Graphic Arts program. Prior to his teaching career he worked in the flexography industry for ten years and in quick printing for ten years. NEED HELP?Weebly Student Log-in Link
PHYS. ED. DAY
AM - Thursdays - 1 PM - Thursdays - 7 HEALTH DAY PM - Mondays - 7 Lake Photo
|

 RSS Feed
